Table of Contents
What are the top 4 technical steps for installing dimmable recessed lighting in a Boulder home
Dimmable recessed lighting offers Boulder homeowners a versatile way to enhance ambiance while saving energy. Embedded into ceilings, these fixtures provide adjustable illumination that suits various moods and activities. In Boulder’s unique climate, where homes often feature open layouts and energy-efficient designs, such lighting integrates seamlessly with local architectural styles. Proper installation ensures compliance with Colorado electrical codes, longevity, and optimal performance. This article outlines the top four technical steps, emphasizing precision to avoid common pitfalls like flickering or overheating.
Before diving into the steps, note that dimmable recessed lighting requires LED bulbs with compatible drivers and dimmer switches rated for LED loads. Boulder’s building codes, aligned with the National Electrical Code (NEC), mandate fire-rated housings in certain ceilings and proper insulation contact ratings. Professional assessment is key for older homes common in the area.
Step 1 Assess and Plan the Layout
The first technical step involves a thorough assessment of the electrical system and precise layout planning. Begin by turning off power at the breaker and verifying with a voltage tester. Evaluate the home’s electrical panel capacity, as dimmable systems draw varying loads under dimming. In Boulder residences, which may have insulated attics, check for existing junction boxes and joist spacing.
Measure room dimensions and mark fixture locations using a template. Space fixtures 4 to 6 feet apart for even coverage, adjusting for furniture and traffic patterns. Use a stud finder to avoid joists, and consult load calculations: each 6-inch LED recessed light typically uses 10-15 watts at full brightness. Sketch a wiring diagram showing runs from the dimmer to fixtures, factoring in voltage drop over distances common in larger Boulder homes.
This planning phase prevents overloading circuits and ensures dimmer compatibility. Transitional to the next step, with layout confirmed, gather tools and proceed to preparation.
Required Tools and Materials
Selecting the right tools and materials is crucial for a smooth installation. The following table outlines essentials for dimmable recessed lighting projects.
| Category | Item | Purpose |
|---|---|---|
| Tools | Voltage tester | Verify power is off |
| Tools | Recessed light cutter or hole saw (matching fixture size) | Precise ceiling cuts |
| Tools | Fish tape or wire puller | Run wiring through walls/attics |
| Tools | Wire strippers and crimpers | Secure connections |
| Tools | Ladder and drill | Access and mounting |
| Materials | Dimmable LED recessed housings (IC-rated if insulated) | Fire safety and heat dissipation |
| Materials | Low-voltage dimmable driver | LED compatibility |
| Materials | 14/2 NM cable | Wiring runs |
| Materials | LED dimmer switch (forward/reverse phase) | Smooth dimming without buzz |
| Materials | Wire nuts and connectors | Secure joints |
With these assembled, transition to cutting and mounting, ensuring all components are UL-listed for dimming.
Step 2 Cut Openings and Install Housings
Once planning is complete, cut precise openings in the ceiling. Position the hole saw or cutter per the template, drilling pilot holes to guide. For standard 6-inch fixtures, use a 5-3/8 inch bit. In Boulder’s dry climate, minimize dust with a shop vac attached to the tool. Support the ceiling material to prevent cracking, especially in older plaster common in local homes.
Feed wiring through the openings before inserting housings. Slide IC-rated cans into place, securing with mounting clips or torsion springs. Adjust for level using a bubble level, and clamp to joists if required by code. This step demands accuracy, as misaligned housings cause trim gaps. After installation, insulate around cans per NEC 410.116 for energy efficiency vital in Colorado winters.
Moving forward, proper housing setup enables reliable wiring in the subsequent phase.
Step 3 Wire the Fixtures and Dimmer
Wiring connects the system safely. Run 14/2 NM cable from the dimmer location to a junction box, then to fixtures. Strip sheathing, connect hot (black) to dimmer traveler, neutral (white) to neutrals, and ground (bare) to grounds. For multiple fixtures, daisy-chain via pigtails in the junction box.
Install the dimmer switch: mount in the wall box, connecting line hot to dimmer line, load to cable black, and ground appropriately. Use a dimmer rated for LED loads (typically 150W minimum) to prevent humming. In Boulder homes with smart systems, integrate compatible modules. Test continuity with power off before closing boxes.
This interconnects the components, leading to final testing. Precision here complies with NEC Article 404 for switches.
Step 4 Test Commission and Trim Installation
The final step verifies functionality. Restore power cautiously, using the voltage tester. Activate the dimmer, observing smooth transitions from 100% to 10% without flicker. Adjust trim if needed using low-end trim settings on advanced dimmers. Install baffle or gimbal trims, snapping into housings for a flush finish.
Measure light output with a lux meter for uniformity, aiming for 100-300 lux in living areas. Address issues like hot spots by repositioning. Document the setup, including dimmer model and bulb specs, for maintenance. In Boulder’s variable lighting conditions, this ensures year-round performance.
Here is a numbered overview of the top 4 technical steps for quick reference:
- Assess and plan the layout, evaluating electrical capacity and spacing.
- Cut openings and install housings, ensuring code-compliant mounting.
- Wire fixtures and dimmer, using proper gauges and connections.
- Test, commission, and install trims for optimal operation.
Conclusion
Installing dimmable recessed lighting in a Boulder home transforms spaces with controllable, efficient light. Following these four technical steps—assessment, housing installation, wiring, and testing—guarantees a professional outcome aligned with local codes. Homeowners achieve enhanced aesthetics and functionality, adapting to daily needs while prioritizing safety. For complex projects, consulting licensed electricians ensures adherence to best practices.
Frequently Asked Questions
1. What makes a recessed light dimmable? Dimmable recessed lights use LED modules with drivers compatible with phase-cut dimmers, allowing brightness adjustment without damage.
2. Can I install dimmable recessed lighting in an insulated Boulder attic? Yes, use IC-rated (Insulation Contact) housings to prevent fire risks and maintain insulation integrity.
3. How do I avoid flickering with dimmable LEDs? Select dimmers specifically rated for LEDs and ensure the total load is within 10-100% of capacity.
4. Are there specific Boulder codes for recessed lighting? Installations must follow NEC via Boulder’s adopted codes, including AFCI protection on bedroom circuits.
5. What if my home has low ceilings? Opt for shallow-depth cans (under 6 inches) designed for 8-foot ceilings common in local homes.
6. How often should dimmable recessed lights be maintained? Check connections annually and replace bulbs every 25,000-50,000 hours, depending on usage.
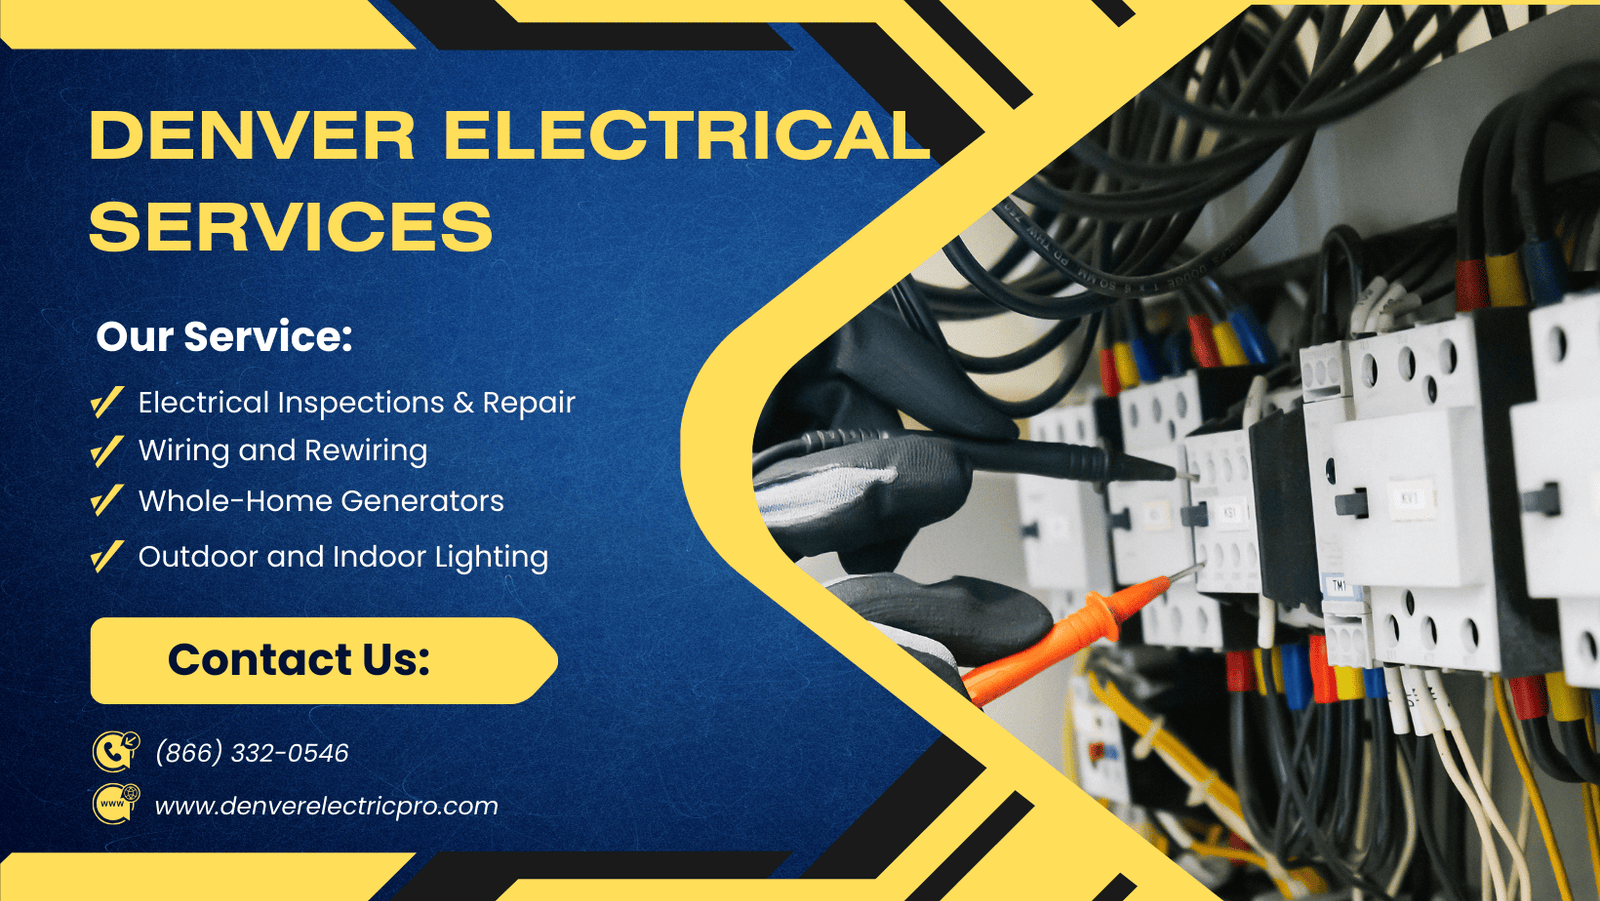
Get Your Electrical Issues Fixed Today!
Are electrical issues affecting your home’s safety or increasing your energy bills? Our professional electrical services help restore reliability while improving efficiency to reduce unnecessary power usage.
Problems such as outdated wiring, faulty outlets, or overloaded circuits can quietly waste electricity and drive up monthly costs. Timely electrical repairs and upgrades can help lower your power bills and prevent more expensive issues later.
Ready to improve safety and energy efficiency? Call (866) 332-0546 now for expert electrical assistance. Please have your ZIP code ready so we can quickly connect you with licensed electricians in your area.
